Step-by-step Guide
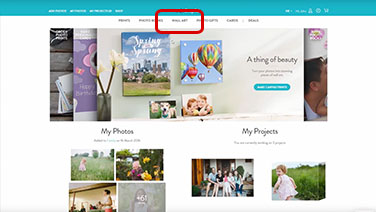
From the Snapfish home page click on Wall art in the top site navigation.
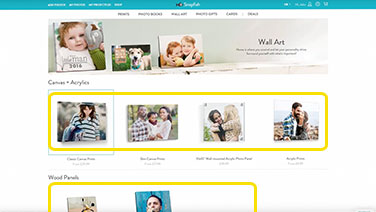
Once on the Wall art page, select the product Canvas.
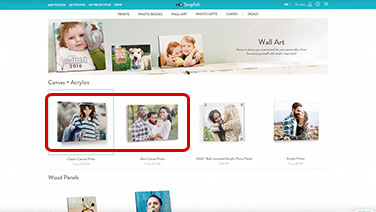
- This is a very similar process to creating photo panels, acrylics and poster prints on the new Snapfish. So this guide can apply to any of these products.
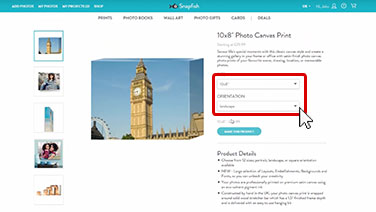
Select the size, orientation and frame if available and click "Make This Product".
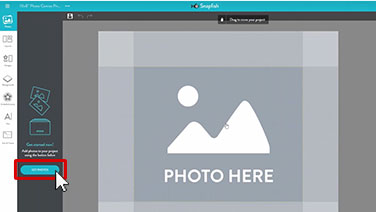
In the canvas print builder, click on "Get Photos" to add a photo or photos to your project.
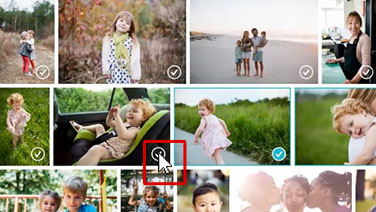
- You can select multiple photos to use on your canvas by clicking on the check-box in the bottom right corner of the image. When you are done, click "Add To Project" in the top right corner of the screen.
- You can always add more photos to your project by clicking on the Photo icon in the project tool bar on the left.
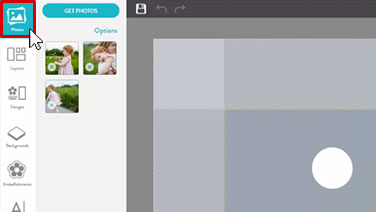
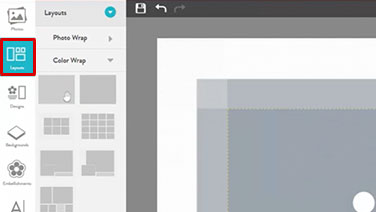
Choose a layout from the Layout icon in the project toolbar.
- There are many layouts, including multiple photo and collage layouts available directly in the canvas builder.
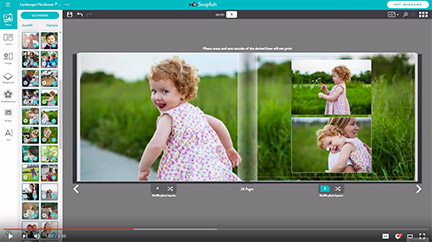
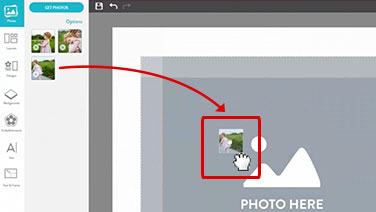
Drag & drop your photos into the photo slots.
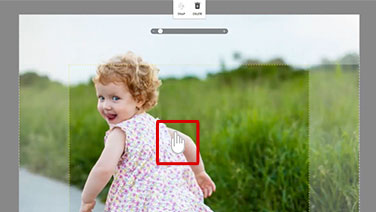
- You can change the size of the photo by dragging the corner of the photo to your desired size.
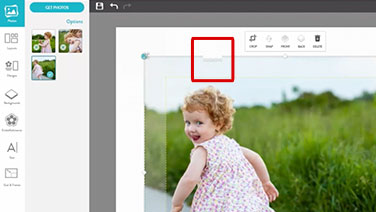
- You can change the size of the photo by dragging the corner of the photo to your desired size.
Choose a background by clicking on the Background icon in the project toolbar.
- You can select a colour, texture, pattern or even one of our Collection backgrounds.
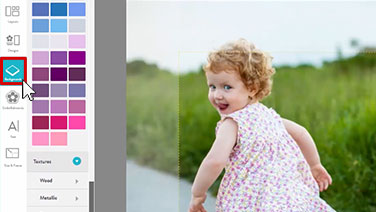
You can add embellishments to your canvas from the Embellishment icon in toolbar on the left hand side. Simply drag & drop the embellishment where you want it.
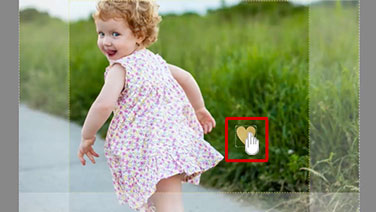
- There are plenty to choose from so take your time and have a look which embellishments you like best. You can read about our favourites and where to find them in our Blog post featuring Travel, Wedding, Baby and Basic embellishments.
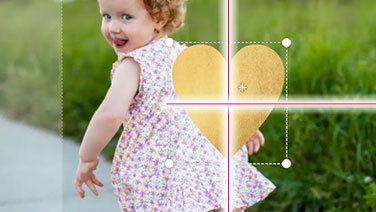
- Similarly to a photo, you can resize, rotate, delete or reposition an embellishment. When moving embellishments, note the bright pink lines. These are guides to help you place the embellishments better in your design.
Add text from the Text icon in the edit toolbar.
- You can change the text colour, font and size or alter the alignment.

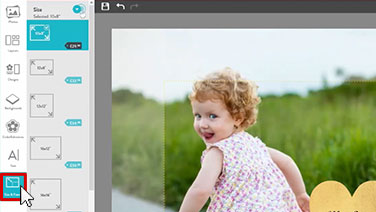
In case you've changed your mind, you also have the option of changing the size of your photo canvas print from the last icon in the project toolbar.
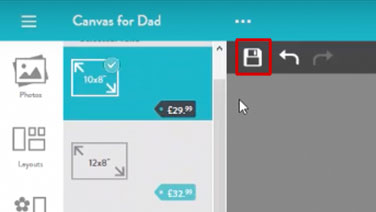
Save your canvas project and keep saving the changes while you are working on it.
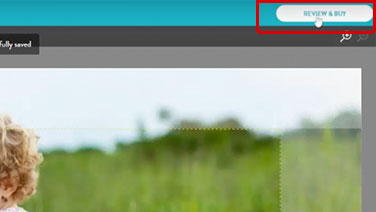
Click "Review & Buy" to review your canvas. This is exactly how your photo canvas will look when printed.
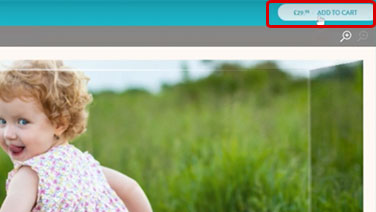
Click "Add To Cart" and check out.
- If this is your first purchase, you might be prompted to enter your delivery address before you can see the canvas print in your cart.
Other related videos

How to upload photos to the new Snapfish
How to order photo prints
How to create a photo book - the basics